Epoxy floor coatings
A floor coating is only as good as the concrete under it — so we mechanically prepare and moisture-test the slab first, then lay high-build epoxy and polyaspartic systems for garages, businesses and decorative spaces across Geelong, the Bellarine & Surf Coast.
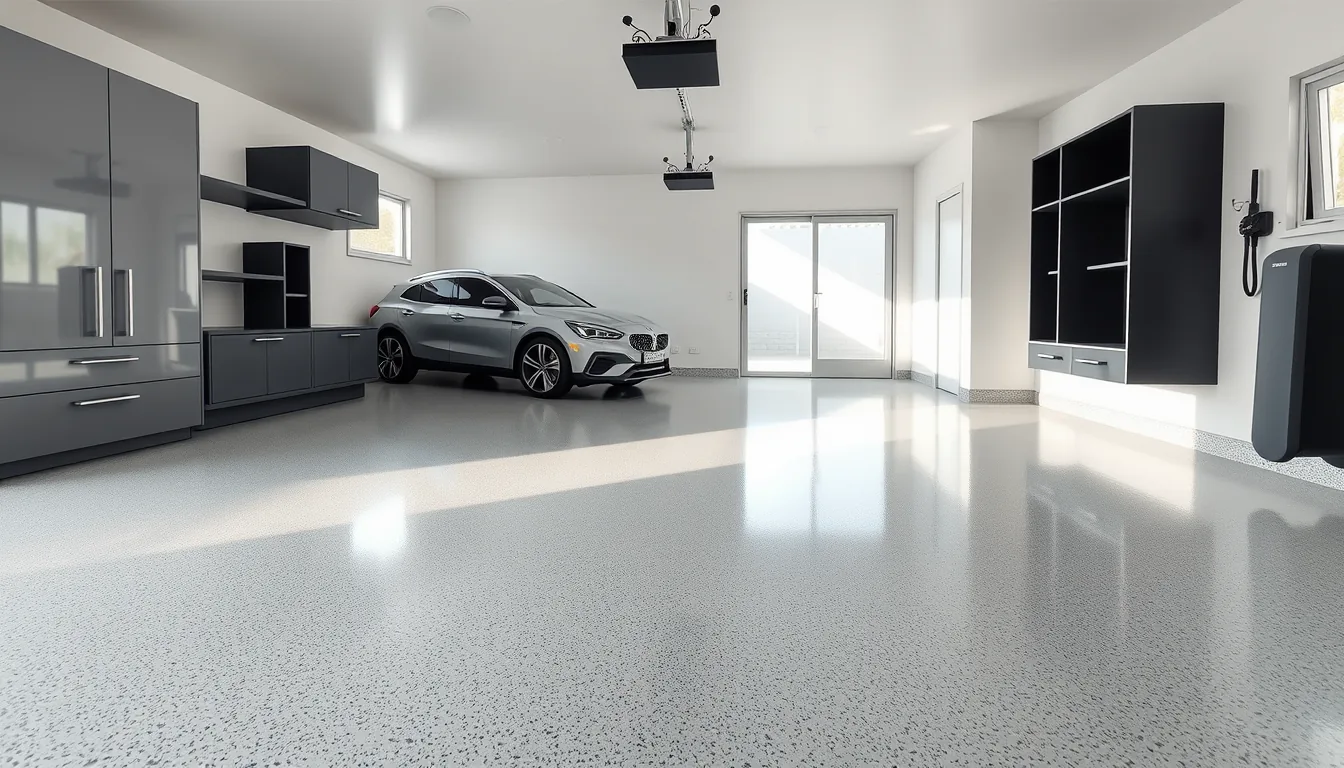
Images on this page are indicative renders to show finish and style — not photographs of completed Terralume jobs. We're a new local business and we'll never present an AI render as a real job. Real product samples and references are brought to every quote.
One system, finished to suit the room
Whether it's a garage you actually want to use, a workshop that has to take a beating, or a feature floor people notice — the prep is the same disciplined process; the finish is chosen for the job.
Garage floors & fit-outs
Flake or polyaspartic floor coatings, plus optional storage and cabinetry — a full garage makeover, not just the floor.
Garage floors & fit-outs →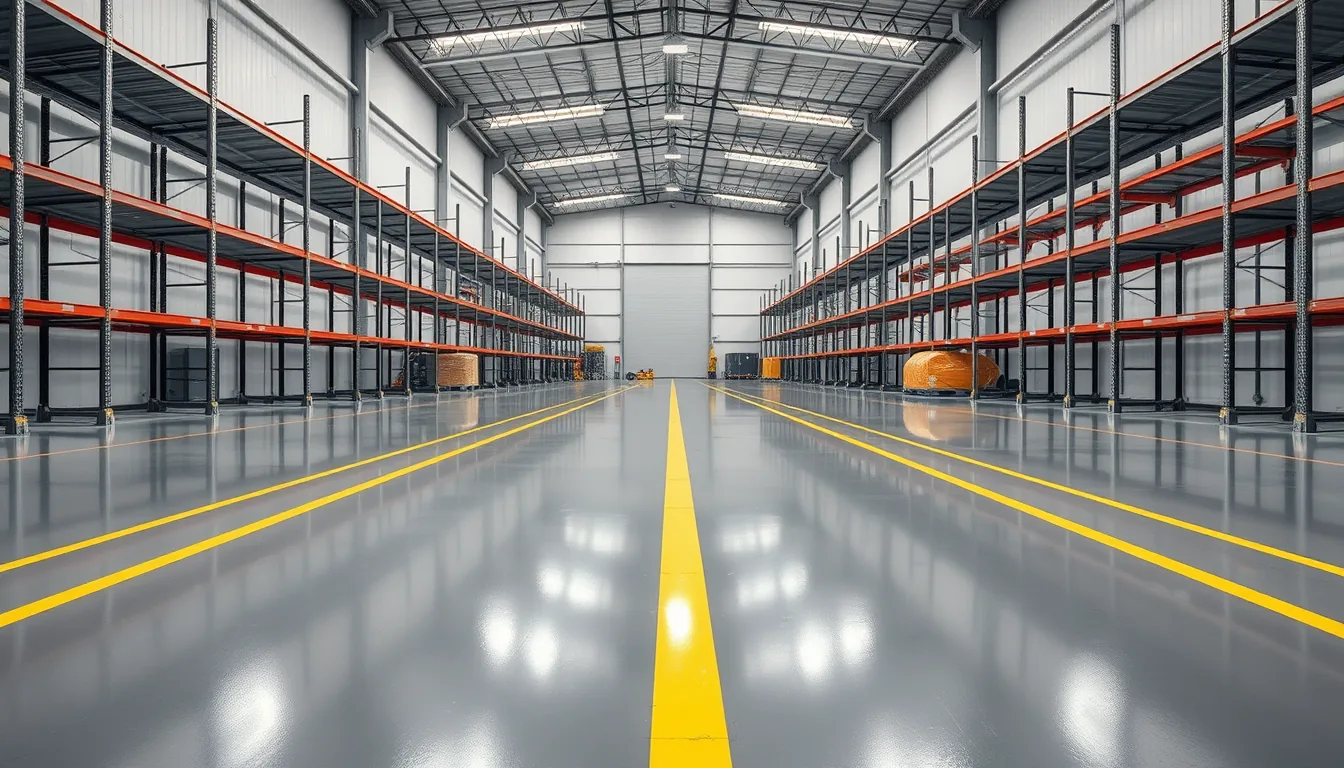
Commercial & industrial
Hard-wearing, chemical- and traffic-resistant floors for workshops, warehouses, retail and hospitality — with line marking and staged install.
Commercial & industrial →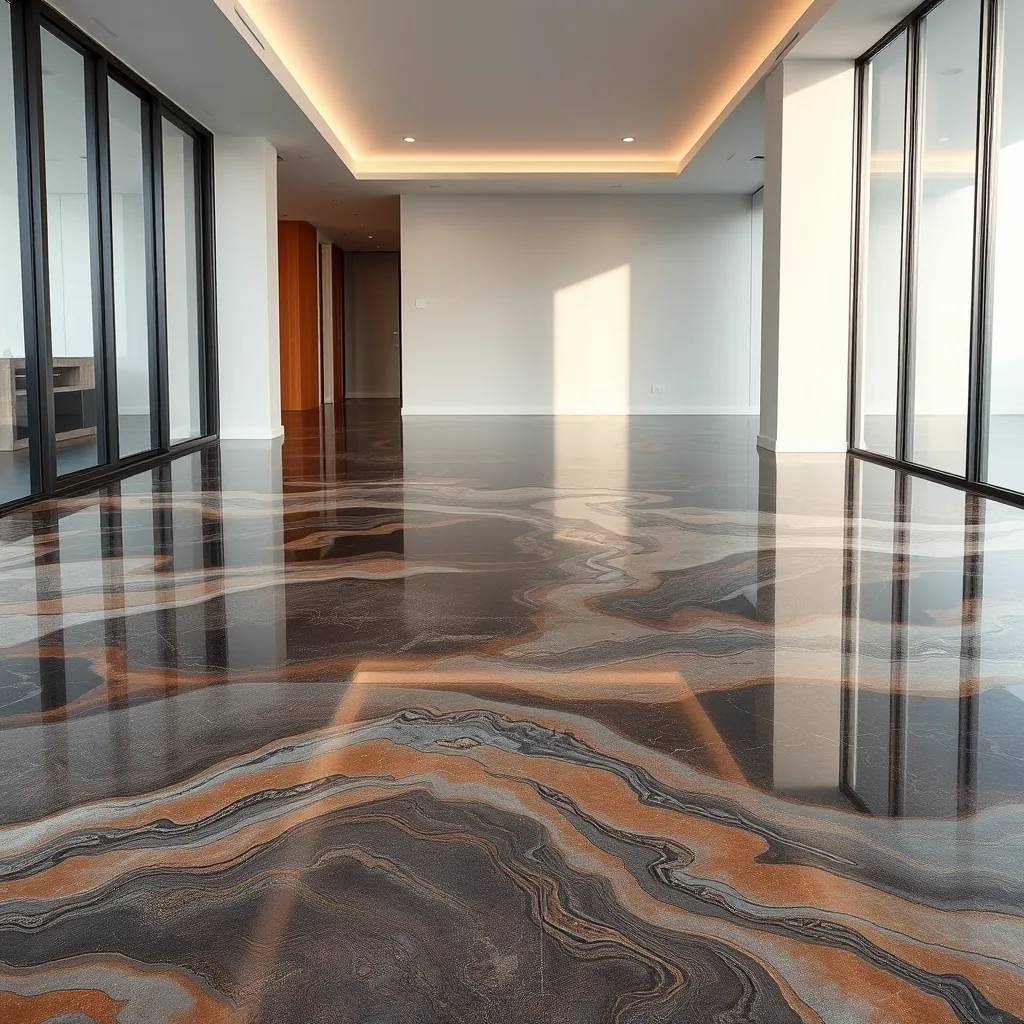
Outdoor & decorative
Metallic art floors, flake and solid finishes — plus UV-stable systems for alfresco and pool-side concrete that won't amber in the sun.
Outdoor & decorative →Not sure which system suits your floor? Tell us about the space and we'll recommend honestly — including when epoxy isn't the right call.
1 properly prepped slab
The prep is the job
Most failed epoxy floors didn't fail because of the coating — they failed because the concrete underneath was glossy, contaminated or damp. We don't skip that step.
- Mechanical preparation. We diamond-grind or shot-blast the slab to a sound, open profile the coating can key into — we don't just acid-etch and hope.
- Moisture testing. Concrete holds water, and water pushes coatings off. We test the slab and won't coat over a moisture problem we haven't dealt with.
- Crack & joint repair. Cracks, pop-outs and tired joints are cut out and filled before the build coats go down, not bridged over.
- The right system for the use. Epoxy build coat for body and adhesion; a UV-stable polyaspartic or polyurethane topcoat where sunlight or fast return-to-service matters.
How an epoxy floor job runs
From first look to handover, every floor follows the same path — the difference is in the prep and the system we choose for the room.
Assess & moisture-test
We look at the slab, check for moisture and contamination, talk through finish and use, and put the system and price in a fixed written quote.
Prepare the slab
Diamond-grind or shot-blast to profile, then cut and fill cracks, joints and pop-outs — the step that makes or breaks the floor.
Prime, build & finish
Primer, high-build epoxy body coat, then your chosen flake, metallic or solid finish, sealed with a hard-wearing topcoat.
Cure, check & hand over
We let it cure to the product's schedule, inspect the finish, walk you through care and register your 5-year written workmanship guarantee.
Reviews coming soon
We're a new local business, and we'd rather show you real, verified epoxy floor reviews than invent them. As we hand over our first projects, genuine customer feedback goes here — names, suburbs and all.
No paid placements, no stock photos and no made-up quotes. Until those first reviews land, the best measure of our work is the spec we put in writing and the plain-language guarantee we stand behind — both of which you can hold us to.
Thinking about an epoxy floor?
Tell us about the space — a garage, a shop, a workshop or a feature room — and we'll arrange a free assessment. We check the slab and moisture, talk finishes honestly, and put the system, finish and timeline in a fixed written quote backed by our 5-year written workmanship guarantee.